- Data Recovery
- Data Recovery for PC
- Data Recovery for Android
- Data Recovery for iPhone/iPad
- Unlock For Android
- Unlock for iPhone/iPad
- Android System Repair
- iPhone/iPad System Repair
Updated By Tom On Feb 20, 2023, 6:05 pm
Currently, there are many popular online searches for "Android device Sent as SMS Server", such as "When my S21 sends a text message to other Android users, the read receipt has been replaced with"Sent as SMS Server ". What the hell is going on? I can't see other people typing. How can I switch back to the original mode?"
So what does it really mean for an Android user to receive a text receipt saying "Sent as SMS Server" after sending a text message? How to stop "Sent as SMS Server? These questions will be answered one by one in this article.
Product recommendation: Android System Repair
Some users reported that they received a message "Sent as SMS Server" instead of "read, sent, delivered" after sending a text message without any changes on their Android devices. So what does "Sent as SMS Server" really mean?
In fact, since the Rich Communication Services (RCS) messaging protocol update in 2020, the text receipt has changed. Rich Communication Services is a messaging protocol that is more like a carrier-based iMessage service that grants access to certain functions, such as sharing pictures and group chats. It has become the primary messaging platform for Android devices.
When an Android user sends an RCS message via the messaging application on their device, they receive the text receipt "Sent as SMS Server" instead of the regular text receipt 'read, sent, delivered'.
Many Android users are not used to the new text receipt 'Sent as SMS Server' and want to stop sending SMS messages through the server. Here, we have found several effective solutions for you, let's take a look.
The first way to stop "Send as SMS Server" is to enable the "Show when Delivered" option in your Android phone Settings. You can enable this option according to the following steps.
Step 1 Turn on your phone and go to the Message app.
Step 2 From the "Settings" option, go to more Settings and click on the first option, SMS.
Step 3 Locate and enable the "Show when Delivered" option in the pop-up window. This option is usually disabled by default.
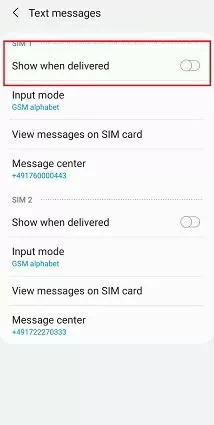
Later you can send a message to check if "Sent as SMS Server" disappeared.
You can also try to stop "Sent as SMS Server" by clearing the Cache partition of your Android device. As we know, the device's Cache partition consists of temporary logs, files, and bits from different applications on the Android phone. Clearing the Cache does not affect your configuration, data, or application, because it only removes unwanted junk files.
To clear the Cache, perform the following steps.
Step 1 Shut down your Android device.
Step 2 Press and hold the Volume + and Home buttons. Then press and hold the Power button on the device. Release the Power button when the device vibrates. When you see the Android Logo, release the other two keys.
Step 3 Navigate to "Erase cache partition" through Volume -. Then use the Power key to select this option. Then select Yes ", hold down the volume - and use the Power button to make the selection.
Step 4 After the device finishes erasing the cache partition, you will see "Done" in the pop-up window.
You can restart the device later and send a message to check that the "Send as SMS Server" problem has been resolved.
Another solution to stop "Send as SMS Server" is to operate your device in safe mode. It will help you find out whether a third-party application is causing this problem.
You can do this by following the steps below:
Step 1 Turn off your Android phone. After power-on, press and hold the Power button, and a logo will appear on the screen.
Step 2 Long press Volume - until Safe mode appear on the screen.
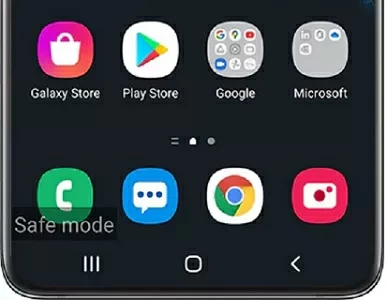
Step 3 Click "OK" and your device will restart in safe mode.
Step 4 After the security mode is turned on, you can view which application caused the problem by uninstalling all newly installed applications in turn.
If there is a problem with Android system software, it may also lead to the text receipt "Send as SMS Server". In this case, you can easily fix it with ReiBoot for Android. ReiBoot for Android is a powerful comprehensive Android system repair tool. It has the functions of clearing the cache of Android system, handling black/blue screen, resolving Android application crash, suddenly run out of battery, or get stuck with the Samsung logo.
With a clean interface and a very user-friendly design, it's one of the best options for fixing Android problems. You can perform the following steps to restore the Android operating system of your mobile phone using ReiBoot for Android.
Step 1 Download, install and start ReiBoot for Android on the PC.
Step 2 After connecting the Android phone with the PC using USB data cable, select "Repair Android system">"Repair now".
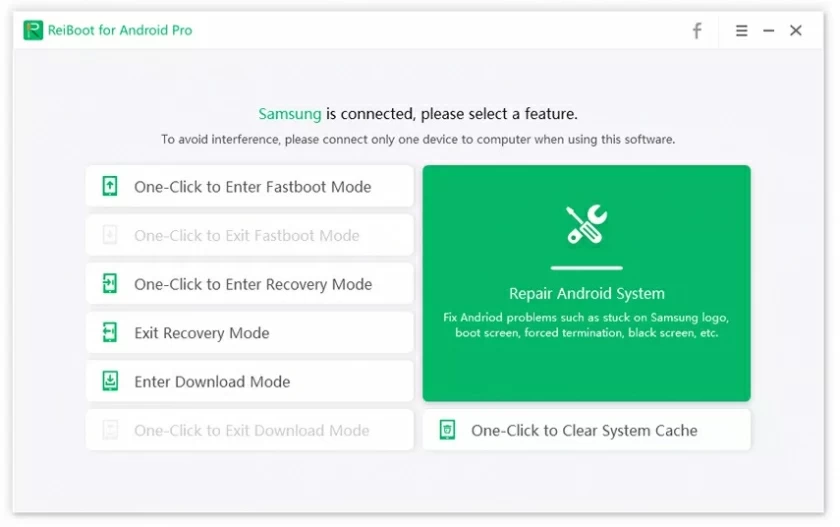
Step 3 Click to get the tools to repair Android phones. Enter relevant information about your Android, such as brand, series and model, and relevant information. After selecting the device information, the firmware package download will begin.
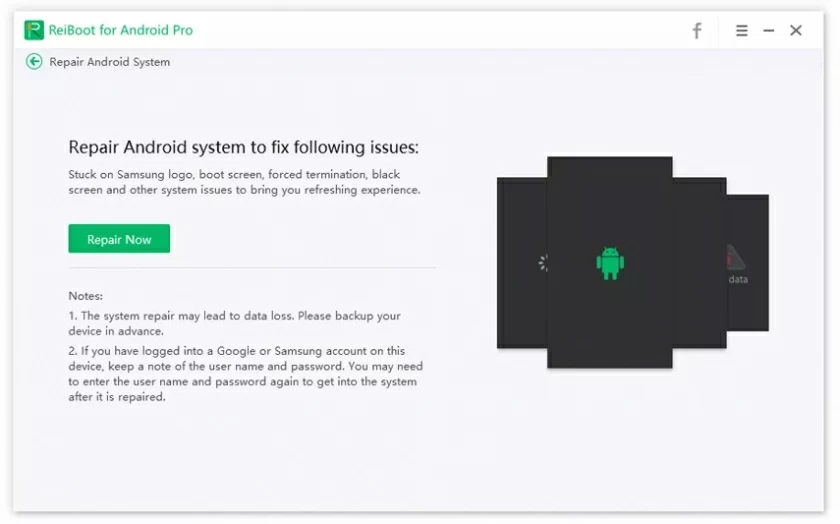
Step 4 After downloading the firmware package, click the "Repair Now" to start the system repair.
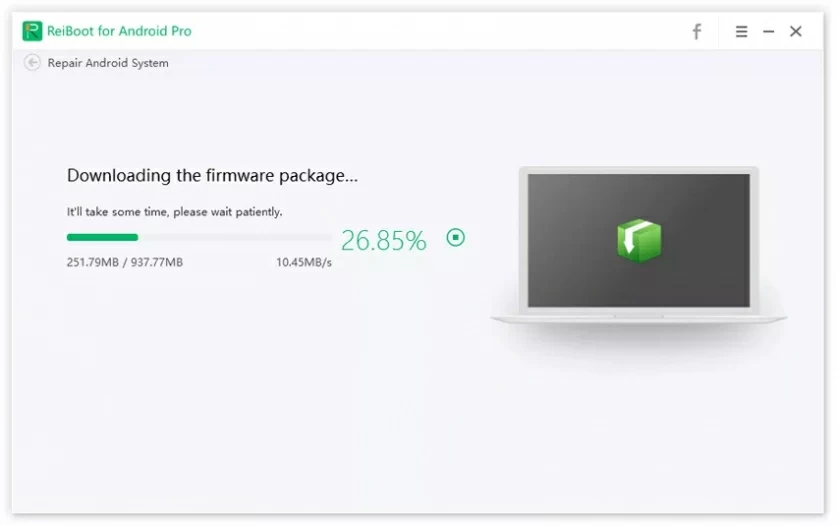
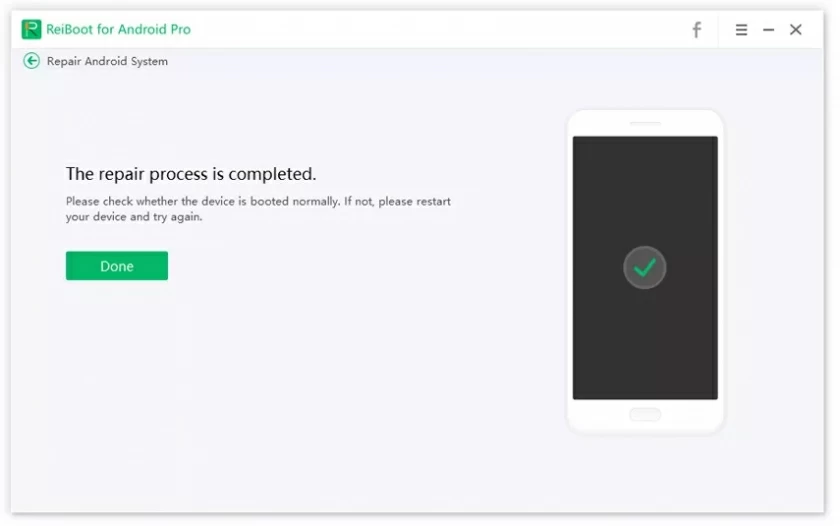
Step 5 Wait for the system repair to complete, which may take several minutes. Make sure your phone is connected to your computer during this process.
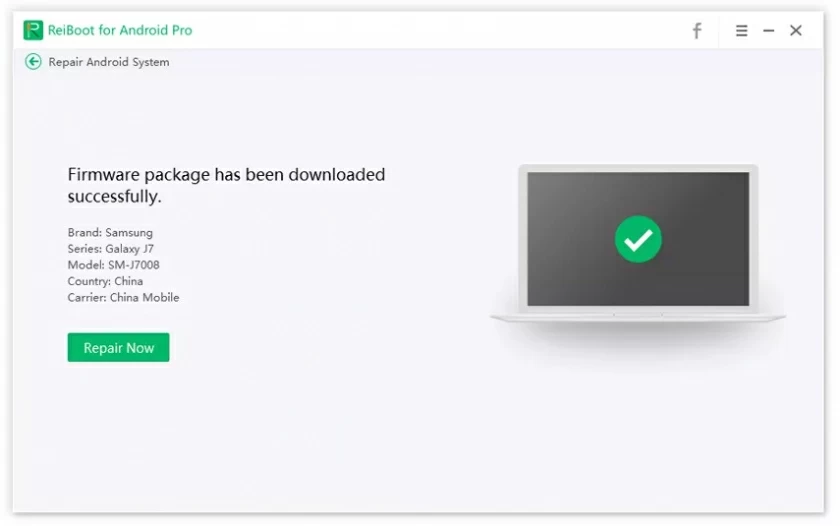
Step 6 When it's done, your Android device will be able to use normally.
If your Android receives a Text Receipt 'Sent as SMS Server' after sending a text message, then you can try some of the methods we recommend for you in this article. ReiBoot for Android is used to repair Android system problems, which is safe, fast and effective.