- Data Recovery
- Data Recovery for PC
- Data Recovery for Android
- Data Recovery for iPhone/iPad
- Unlock For Android
- Unlock for iPhone/iPad
- Android System Repair
- iPhone/iPad System Repair
Updated By Cameron On May 25, 2023, 8:17 pm
The main purpose of today's recommended image noise reduction is to explain the relevant issues of image noise reduction for mobile phone. You may have some understanding that image noise refers to unwanted colors or pixels that appear in an image, usually due to limitations of the camera or image sensor, or noise in the shooting environment. These noises will degrade the quality of the picture and affect our perception and use experience of the picture. Image noise reduction refers to a series of algorithms and techniques to remove noise from the picture, making the picture clearer and more natural. So what photo restoration tools do we have to reduce the noise of images? Let's have a look.
The reason why I recommend this software for image clarity is because its main function is to repair photos and create exquisite photo effects. Moreover, its repair technology is relatively advanced and easy to operate, without the need to set parameters yourself. After uploading photos, the software will automatically use noise reduction algorithms to efficiently capture, identify, analyze, and process defects and noise in the uploaded photos, and even intelligently repair the blurry details of the images. The output photos look very real and natural, without obvious artificial traces. The other repair effects of this software are also great, such as image defogging, non-destructive enlargement, and blurry photo repair, all of which can meet different usage needs very well. This software not only has commonly used image editing functions, but also specialized batch processing functions. We can use them to perform batch cropping, resizing, rotation, and other operations, which helps improve work efficiency.
Below, we will demonstrate how to reduce image noises:
1. Select Function
Transfer your phone images to a computer, open Styler, find and click on the 'Image Noise Reduction' function on the homepage;

2. Upload Images
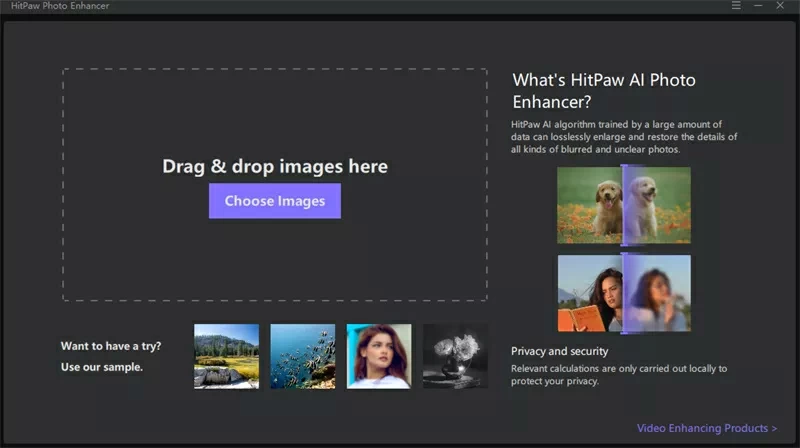
After jumping to the image upload page, click 'Add Image' or directly drag the image to be denoised to the designated area;

3. Preview Effect
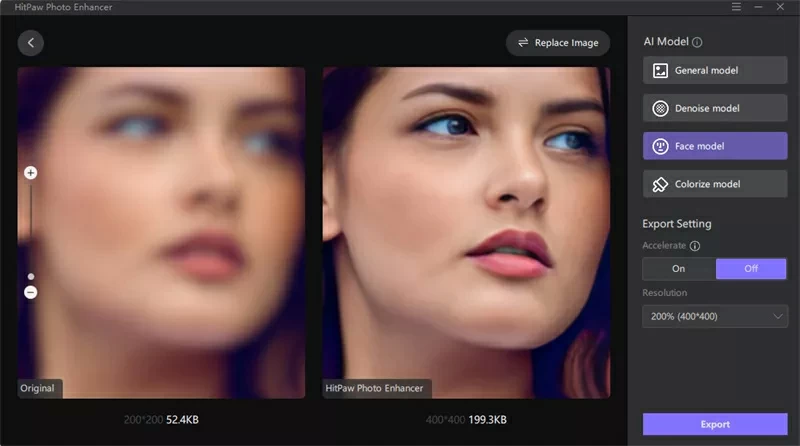
After the system completes the image noise reduction, click on the 'Original Image/Effect Preview' in the upper right corner to compare the differences between the front and back images;

4. Download pictures
Then click "Save Now" to get the photo.

That's all for today. This article introduces to you what is the image noise and image noise reduction method for mobile phone. We hope that the above content can add new ideas for you to find the method of image noise reduction.