- Data Recovery
- Data Recovery for PC
- Data Recovery for Android
- Data Recovery for iPhone/iPad
- Unlock For Android
- Unlock for iPhone/iPad
- Android System Repair
- iPhone/iPad System Repair
Updated By Tom On Nov 30, 2022, 8:18 pm
Data Recovery(4DDiG) is a safe and easy-to-use data recovery tool. It is designed to recover any data lost on Windows devices, such as deleted, formatted, or inaccessible files on Windows PCs, laptops, external hard disks, SSDs, memory cards, pen drives, digital cameras, media players, and other storage devices.
Click the "Download Now" button to download and install the Data Recovery Tool on your computer, and then run the program.
If you accidentally delete important files on the local disk, or you cannot obtain files on the local disk because the device is damaged, you can use 4DDiG to recover local disk files. We will show you how to recover data from a local disk. (This method is also applicable to recovering external hard disk data, recovering lost data from Bitlocker encrypted drives, and recovering data from the Recycle Bin)
Step 1: Select a local disk
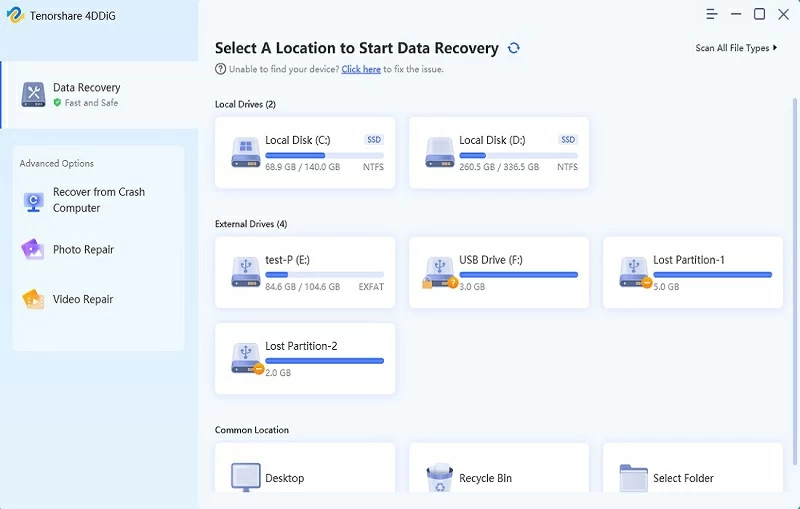
After starting the 4DDiG Windows data recovery, you will see the data recovery and advanced options on the left toolbar in the main interface. Select the disk with lost data in the list on the right, and then click the "Start" button to scan.
Step 2: Scan the local disk
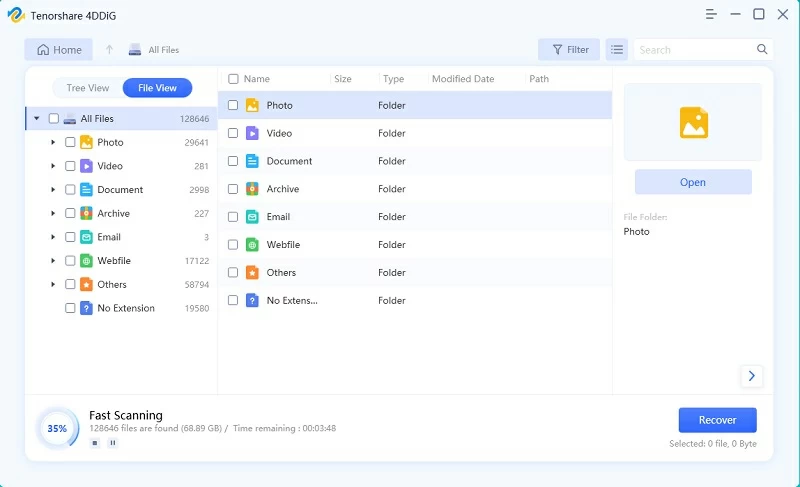
4DDiG will enter the scanning state immediately. The files will be displayed in a list. If you know the location of the missing files, you can pause or stop scanning at any time. You can also change the file view to find files more intuitively. At the same time, you can also use the filtering function in the upper right corner to quickly search.
Step 3: Preview and restore files
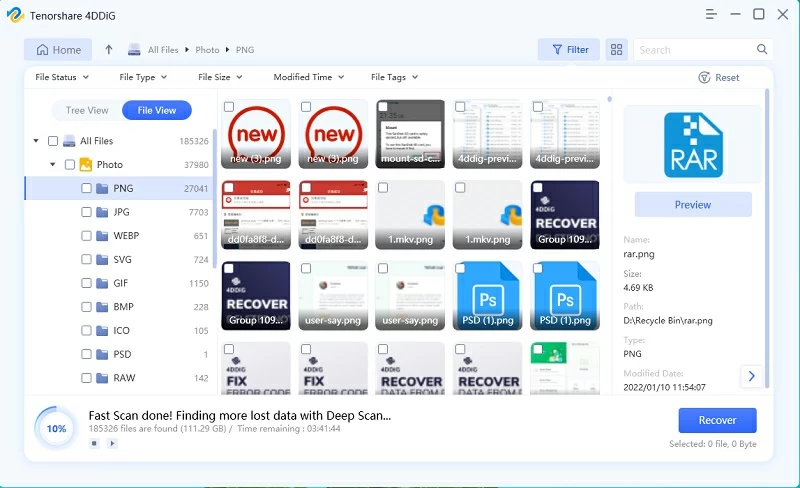
After you find a missing file, you can preview it to determine whether it is missing, and then restore the file to a safe location. Be careful not to save to the original location.
When using computers, we often encounter unexpected situations, such as sudden crash or computer crash. Before repairing the computer, we need to save important documents. How to recover the data in the crashed computer, you only need to follow the following methods:
Step 1: Preparation before recovery
Before recovering the data of a crashed computer, we need to prepare a normal computer,and a blank USB drive of more than 1.5G. Then install and start the 4DDiG data recovery software,
Step 2: Connect the USB drive and select the location
Connect your USB drive to a normal computer. Select "Recover from the crashed computer" in the main interface, and click "Start" to continue.
Step 3: Create a bootable drive
Select an external USB drive to create a bootable drive, and then click "Create". Do not touch the drive during creation.
Step 4: Create successfully
After a while, you can start to recover data on the crashed computer after the creation is successful.
Step 5: Boot the crashed computer from the USB drive
Insert the USB into the crashed computer, then restart the device, and enter the BIOS settings of the device.
Step 6: Recover data
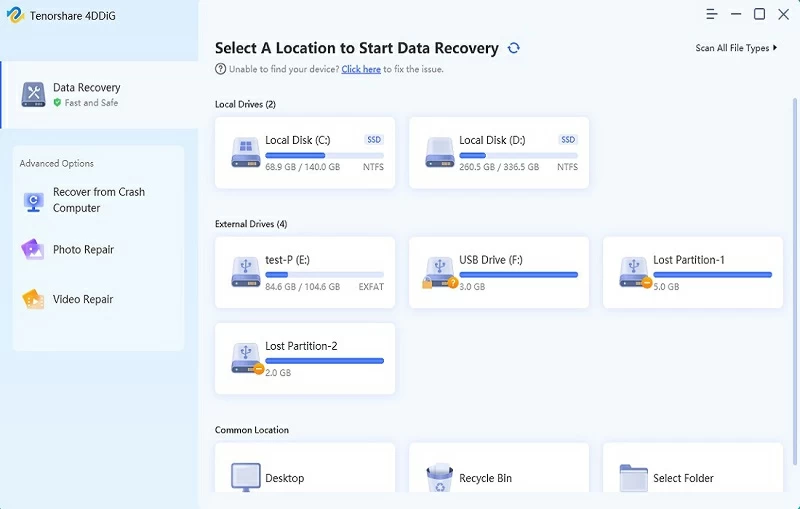
After entering BIOS settings, use the arrow keys to switch to the boot options and select "boot device". Then the crashed system will start loading files. Please wait patiently for configuration. 4DDiG will start automatically, and you can select a location to start data recovery.
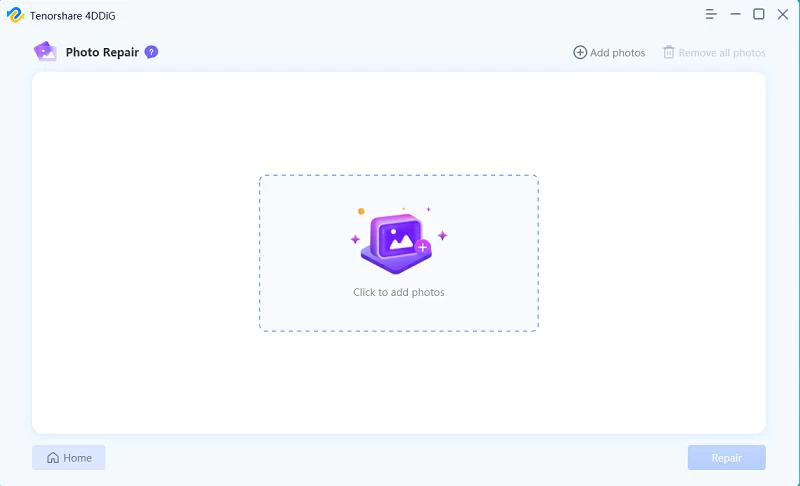
Step 1: Select a picture or video to restore
Install and start 4DDiG. Select picture or video recovery in advanced options.
Step 2: Add pictures or videos to start recovery
Click "Add Picture or Video" to import the damaged file, and then click "Restore" to start restoring the picture or video.
Step 3: View the repaired pictures or videos and export them
After the repair, you can choose to preview the file, and then click "Export" to save it to a safe location.
